Creating a User Role

Use user roles to limit user access to certain WLANs, to allow them to log on with non-standard client devices.

Follow these steps to create a user role.
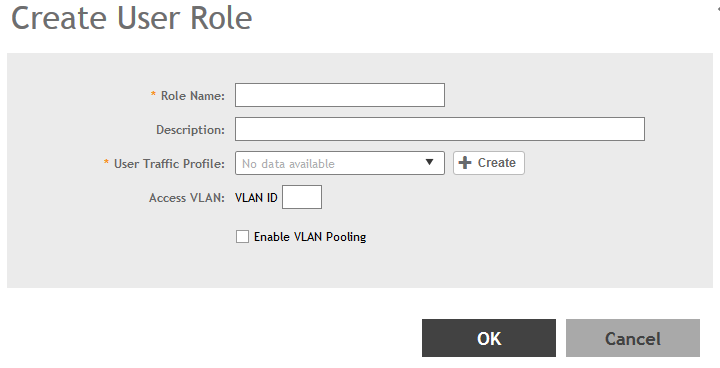
  1. Go to Clients > Users & Roles.
  2. Select the User Roles tab, and then select the zone for which you want to create the role.
  3. Click Create.
    The Create User Role page appears.
    Figure 39  Create User Role


  4. Configure the options in the Create User Role form.
    • Role Name: Type a name for this user role.
    • Description: Type a description for this user role.
    • User Traffic Profiles: Select the user traffic profile form the drop-down menu. You can also create the user traffic profile. For more information, see Creating a User Traffic Profile.
    • Access VLAN: Provide the VLAN ID.

      You can also select the Enable VLAN Pooling check-box and select the VLAN ID from the drop-down list. You can also create a VLAN Pooling profile. For more information, see Creating a VLAN Pooling Profile.

  5. Click OK.

You have completed creating a user role.

NOTE
You can also edit, clone and delete user roles by selecting the options Configure, Clone and Delete respectively, from the User Roles tab.