Each VLAN pool can contain up to 16 VLANs, and a maximum of 64 VLAN pools can be created. Each WLAN can be configured with a single VLAN pool.
-
Go to
.
-
Select the
VLAN Pooling tab, and then select the zone for which you want to create the profile.
-
Click
Create.
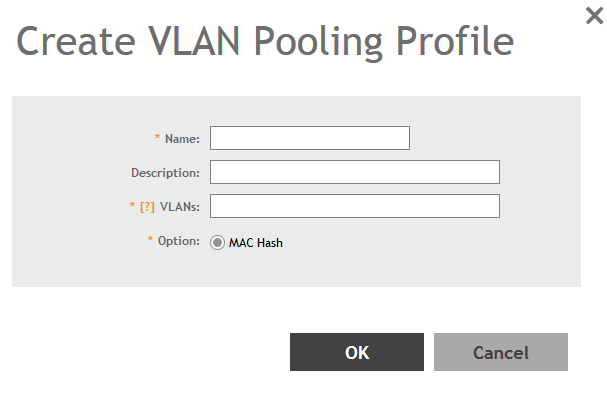
The Create VLAN Pooling page appears.
Figure 76
Creating a VLAN Pooling Profile
-
Configure the following:
- Name: Type a name for the VLAN profile.
- Description: Type a short description for this profile.
- VLANS: Type the VLAN IDs to be assigned to this pool. VLAN IDs can be separated by hyphens, commas, or a combination (for example, 7-10, 13, 17, 20-28).
- Click
OK.
You have created the VLAN Pooling profile.
NOTE
You can also edit, clone and delete a profile by selecting the options
Configure,
Clone and
Delete respectively, from the
VLAN Pooling tab.

