Creating a Vendor-Specific Attribute Profile

Perform the following procedure to add the VSAs in the RADIUS authentication and accounting messages.

  1. Select Services and Profiles > Vendor Specific Attributes > Vendor Specific Attributes Profile.
  2. Select the zone for which you want to create a VSA profile.
  3. Click Create. The Create Vendor Specific Attribute Profile page is displayed.
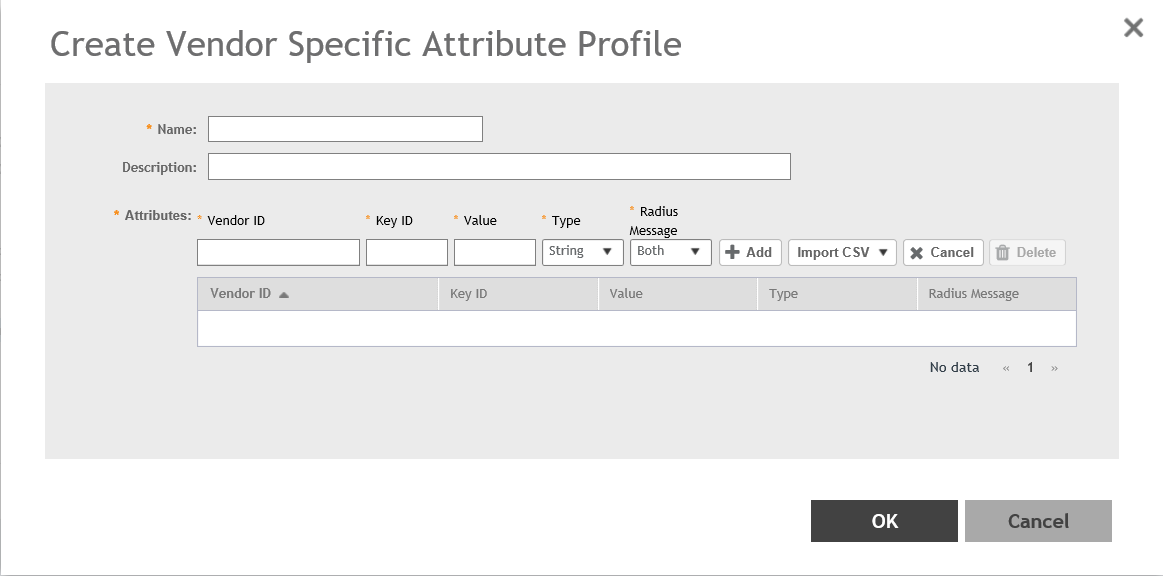
    Figure 202  Creating a Vendor-Specific Attribute Profile


  4. Enter the profile name and description.
  5. Under Attributes, define the VSA profile by completing the following steps:
    1. In the Vendor ID field, enter an integer from 1 through 65536.
      NOTE
      Do not configure the vendor IDs 25053 (Ruckus) and 14122 (WISPr) because they are reserved for internal use only. If you try to configure these vendor IDs, the system throws an error message.
    2. In the Key ID field, enter an integer from 0 through 255.
    3. In the Type list, select from the following options:
      • Integer
      • String
    4. In the Value field, enter an integer or string depending on the Type selected.
      NOTE
      The integer range is from 0 through 2147483647. The maximum length of a string is 247 characters.
    5. In the Radius Message list, select from the following options:
      • Accounting: The attributes defined in the VSA profile are included in the accounting messages.
      • Authentication: The attributes defined in the VSA profile are included in the authentication messages.
      • Both: The attributes defined in the VSA profile are included in both the accounting and authentication messages.
  6. Click Add to add the VSA profile or click Import CSV to upload a CSV file containing multiple VSA profiles.
    NOTE
    To download a CSV template, click the Import CSV arrow and select Download a CSV Sample.

    The VSA profiles are added to the Attributes table. Check the VSA information in the Attributes table for any modifications.

    NOTE
    You can edit the VSAs by clicking the Vendor ID in the Attributes table.
    NOTE
    A maximum of 32 VSAs can be added to a VSA profile. A maximum of 4 VSA profiles can be configured for a zone.
  7. Click OK to update the VSA profile to the database.
NOTE
To edit a VSA profile, select a VSA profile and click Configure in the Vendor Specific Attribute Profile page.
NOTE
To associate a VSA profile to a WLAN, refer to Associating a VSA Profile to a WLAN Configuration.
NOTE
You can also configure a VSA profile in the zone and WLAN templates. For more information, refer to Working with Zone Templates and Working with WLAN Templates respectively .