Installing a Hard Drive in a Carrier
Follow these steps to install a hard drive in a drive carrier.
-
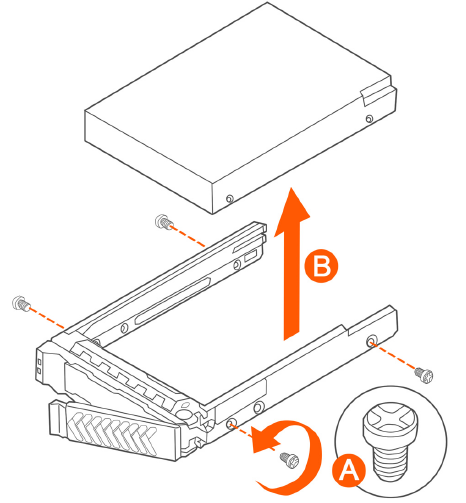
Lift the drive out of the carrier (see B in Figure 156).
Figure 156 Removing the hard drive
-
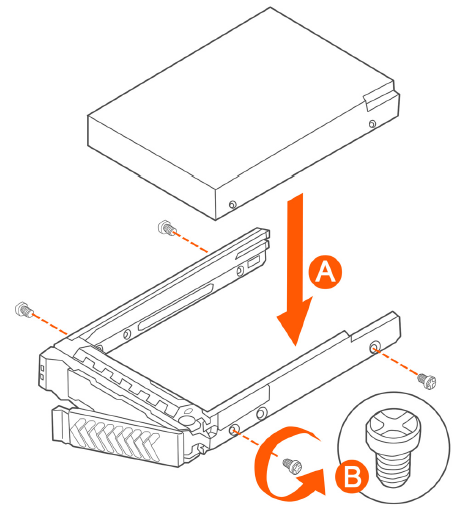
Install the new drive in the drive carrier (see A in Figure 157), and then secure the drive with the
four screws that come with the carrier (see B).
Figure 157 Installing the hard drive
-
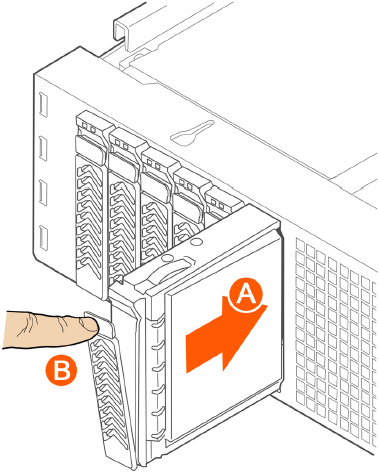
With the drive carrier locking lever fully open, push the hard drive carrier into
the drive bay in the chassis until it stops (see A in Figure 158).
Figure 158 Inserting the carrier back into the chassis
You have completed installing or replacing the hard drive onto the controller.
NOTE
The new hard drive will synchronize automatically with the existing RAID array. During the synchronization process, the HDD LED on the controller will blink amber and green alternately. When the process is complete, the HDD LED will turn off.