To create a traffic class profile, you must define the basic required settings. 


	 -  
		  Go to 
			 . 
		   
		
-  
		   Select the 
			 Traffic Classes tab, and then select the zone for which you want to create the profile. 
		   
		
-  
		  Click 
			 Create. 
		   
		    The 
			  Create Traffic Class Profile page appears. 
			  Figure 134 
             Creating a Traffic Class Profile
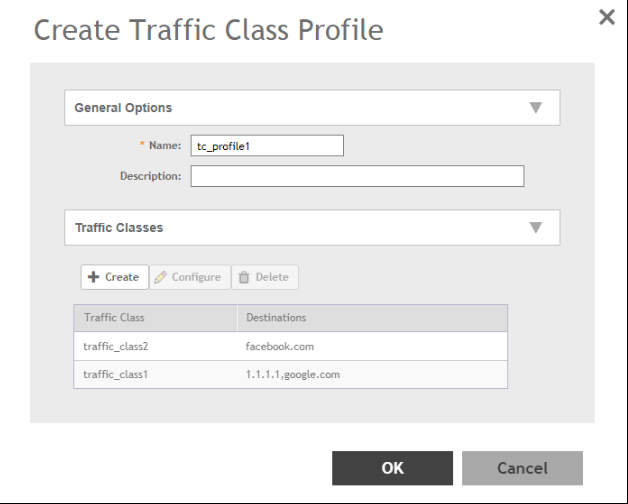
 
-  
		  Under 
			 General Options, enter traffic class profile name and description. 
		   
		
-  
		  Under 
			 Traffic Classes, click 
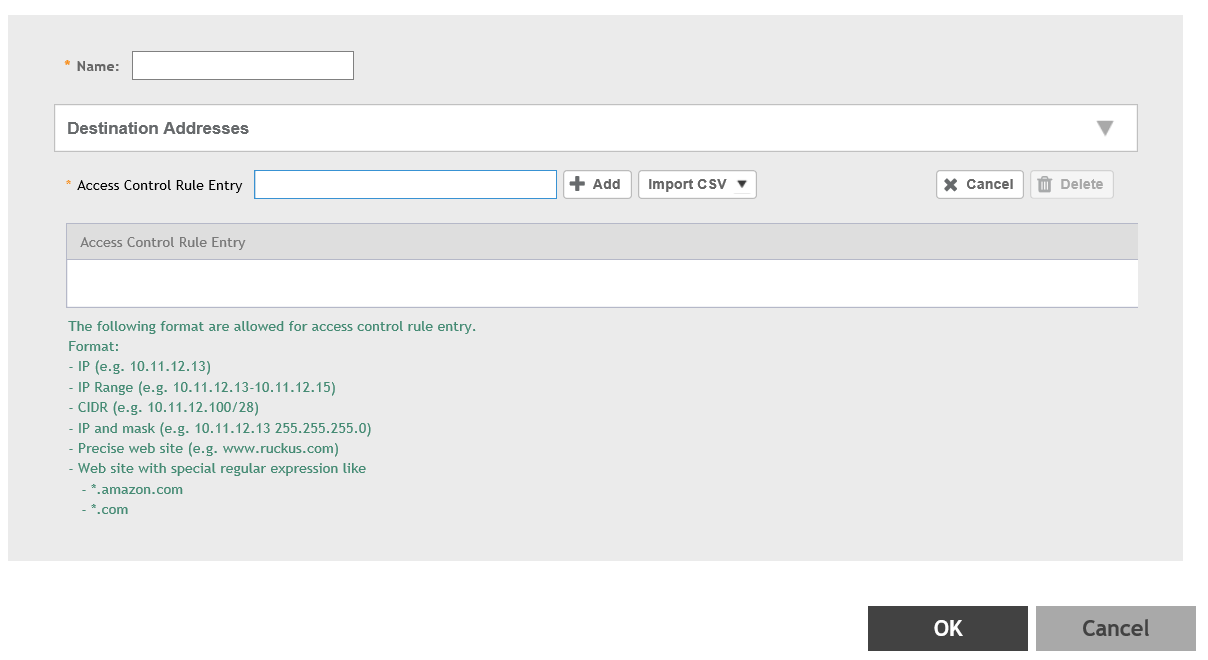
			 Create to add a traffic class. 
		   
		    
			 NOTE  Only four traffic classes can be added in a single 
				 Traffic Class profile. 
			  
Figure 135 
            Creating a Traffic Class 
-  
		  Enter the name of the traffic class profile. 
		   
		
-  
		  In the 
			 Access Control Rule Entry field, enter an access control rule in the proper format. 
		   
		
-  
		  Click 
			 Add to add an access control rule or click 
			 Import CSV to import an access control list. 
		   
		    
			 NOTE  Click the 
				 Import CSV arrow and select 
				 Download Sample (CSV) to download the CSV template. 
			  
NOTE  To delete an access control rule, select an entry and click 
				 Delete. 
			  
 
-  
		  Click 
			 OK. 
		   
		
You have created a Traffic Class Profile. 
		
NOTE
 IP destination is reachable only when IP is not part of Traffic Class, but present under Split Tunnel. Split-tunnel policy is effective only when both 
		  
Split Tunnel and 
		  
Traffic Class features are enabled together.