The Hotspot 2.0 technology allows users to
    seamlessly roam between the provider's home Wi-Fi network and the visited Wi-Fi network in a
    different location. A Wi-Fi provider can partner with several roaming partners to provide Wi-Fi
    access to partner's subscribers. Public venues such as institutions, restaurants, and stadiums
    are considered roaming partners.
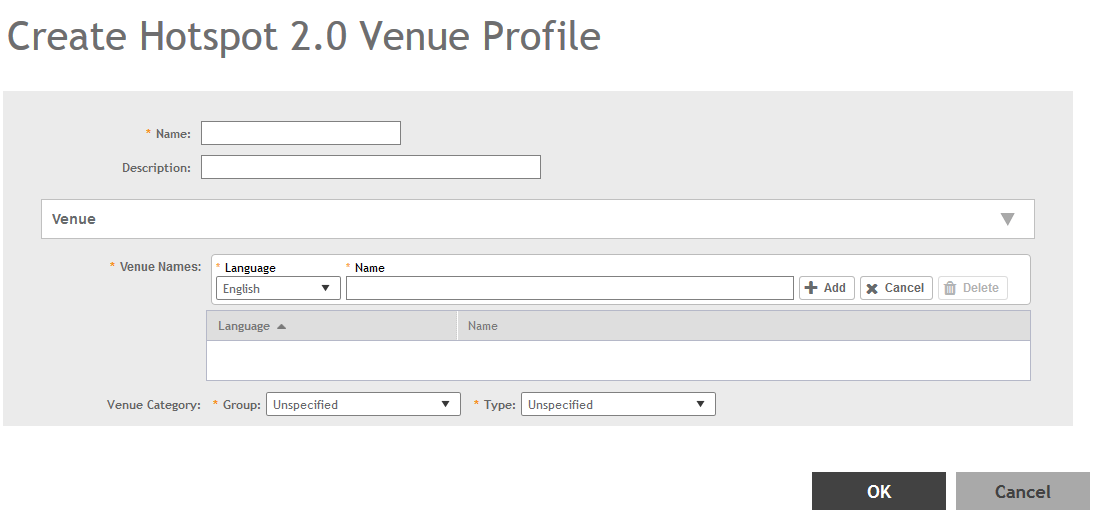
    - 
        Go to .
      
- 
        Select the Hotspot 2.0 tab, and then
          select the zone for which you want to create the profile.
      
- 
        Click Create.
         The  Create Hotspot 2.0 Venue Profile page appears. Figure 116 
            Creating a Hotspot 2.0 Venue Profile 
 
- 
        Configure the following:
         
          
            - Name: Enter a name for this venue profile. This name identifies the venue profile
              when assigning an HS2.0 service to a HS2.0 venue.
- Description: Enter a description for the venue profile.
- Venue: 
                - Venue Names: Create a new venue name. Select the language and enter the venue
                  name in that language.
- Venue Category: Select venue group and venue type as defined in IEEE802.11u,
                  Table 7.25m/n.
- WAN Metrics: Provides information about the WAN link connecting an IEEE 802.11
                  access network and the Internet; includes uplink/downlink speed estimates
 Select the operator profile. This name identifies the service operator when
              assigning an HS2.0 service to a HS2.0 WLAN.
 
 
- 
        Click OK. 
      
You have completed creating a Hotspot 2.0 WLAN profile.
NOTE
 You can also edit, clone
        and delete a Hotspot 2.0 venue profile by selecting the options
          
Configure, 
Clone and
          
Delete respectively, from the 
Venue Profile
        section in the 
Hotspot 2.0 tab.