Creating a UA Blacklist Profile
The controller automatically blocks certain user agents (or software used by a user) from accessing hotspots provided by controller-managed APs. When the controller blocks any of these user agents, an error message appears on the user device. You can add to or remove user agents from this blacklist.
Following are some of the blocked user agents:
- ZoneAlarm
- VCSoapClient
- XTier NetIdentity
- DivX Player
- Symantec LiveUpdate
- Windows Live Messenger
- StubInstaller
- windows-update-agent
- Windows Live Essentials
- Microsoft Dr. Watson for Windows (MSDW)
- Avast Antivirus Syncer
- Microsoft Background Intelligent Transfer Service (BITS)
- Google Update
- TrendMicro client
- Skype WISPr
-
Click Create.
The Creating a UA Blacklist Profile page appears.Figure 113 Creating a UA Blacklist Profile
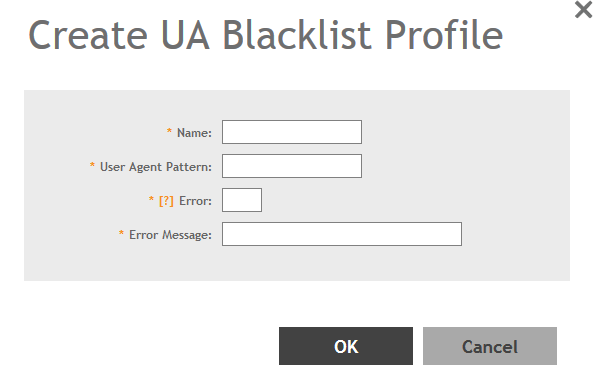
You have completed creating a UA Blacklist Profile
NOTE
You can also edit, clone and
delete a UA blacklist profile by selecting the options Configure,
Clone and Delete respectively, from the
UA Blacklist tab.