Creating Routing Configurations
You can create, edit, and delete routing configurations for an ICX switch.
-
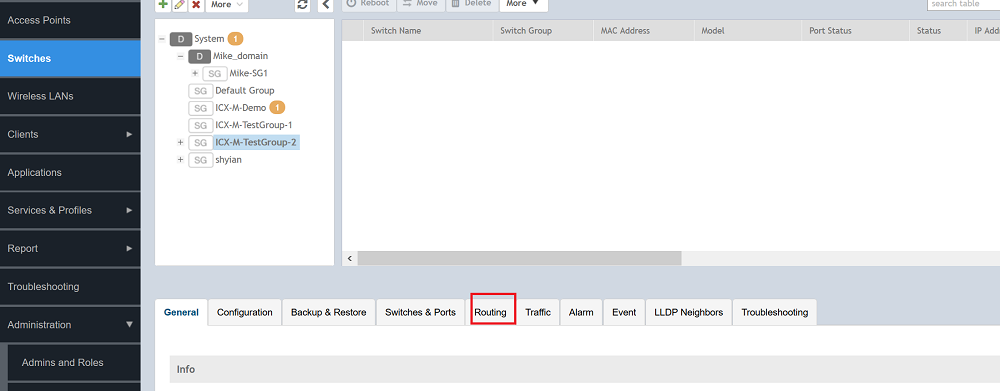
Select the switch group or switch and click the
Routing
tab.
Figure 82 ICX Switch Routing Tab
-
In
IP Ports, click
Create.
The IP Ports page is displayed.Configure the following IP port information:Figure 83 IP Ports Page
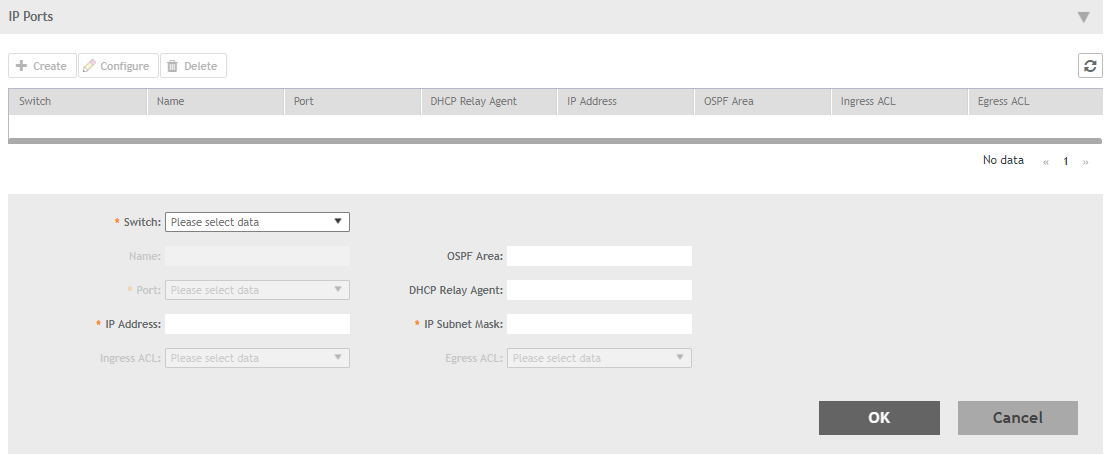
- Switch: Select the switch from the list,
- Name: Enter a name.
- OSPF Area: Enter the OSPF area IPv4 address.
- Port: Select the port number from the list.
- DHCP Relay Agent: Enter the DHCP relay agent IP address.
- IP Address: Enter a unicast IP address.
- IP Subnet Mask: Enter an IP subnet mask.
- Ingress ACL: Select the ACL for the ingress network interface.
- Egress ACL: Select the ACL for the egress network interface.
-
In
VE Ports, click
Create.
The VE Ports page is displayed.Configure the following VE port information:Figure 84 VE Ports Page
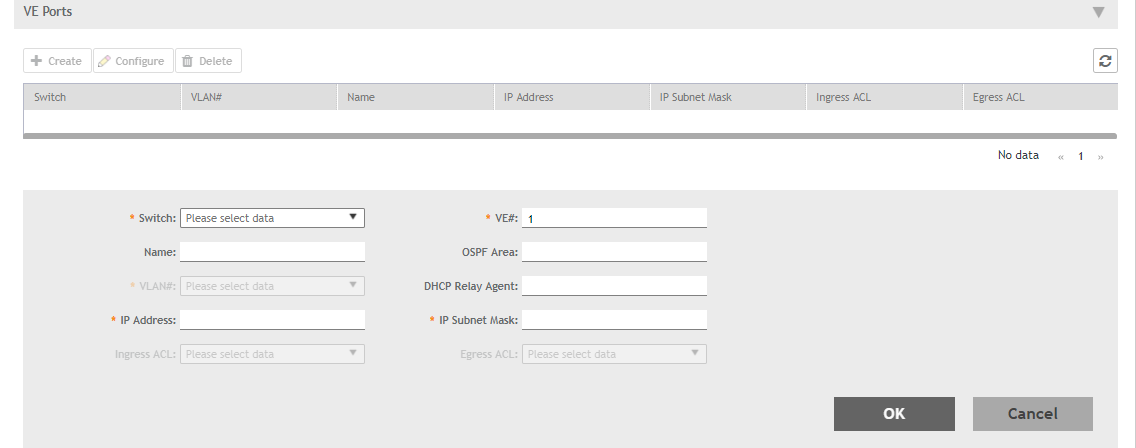
- Switch: Select the switch from the list.
- VE#: Enter the VE number. Range: 1 through 4095.
- Name: Enter a name.
- OSPF Area: Enter the OSPF area IPv4 address.
- VLAN#: Select the VLAN from the list.
- DHCP Relay Agent: Enter the DHCP relay agent IP address.
- IP Address: Enter a unicast IP address.
- IP Subnet Mask: Enter an IP subnet mask.
- Ingress ACL: Select the ACL for the ingress network interface.
- Egress ACL: Select the ACL for the egress network interface.