Configuring AP-based DHCP Service Settings
Using DHCP service settings, you can configure an AP to assign private IP addresses to Wi-Fi clients without the need for a separate DHCP server (router).
Before you configure the DHCP Service, consider the following:
- There must be minimum one and maximum two APs acting as Gateway AP (GAP). There is no count in the number of APs acting as Non-Gateway APs (NGAP).
- For a single non-Gateway AP (NGAP) you can connect eth0 of NGAP to LAN port (usually eth1) of GAP.
- For more than one NGAP you need a minimum L2 switch to connect the LAN port of GAP to all the NGAPs
- For APs having more than 2 ethernet ports, all the eth ports except the WAN backhaul (usually eth0) can be configured as LAN ports. In such case a separate switch may not be required.
To configure DHCP services:
-
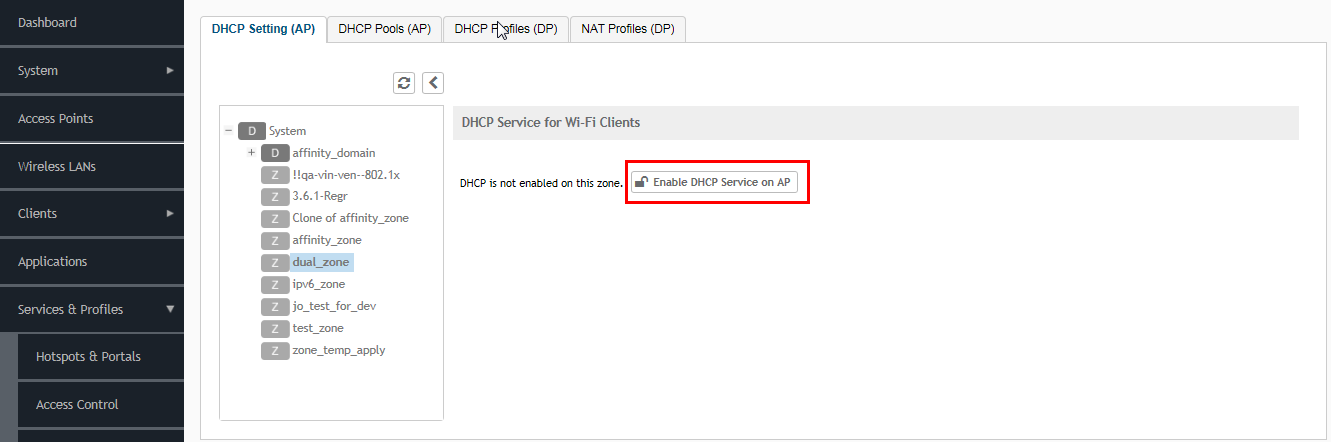
Select a Zone from the zone list on the left side of the screen, and click
Enable DHCP Service on AP.
Figure 195 Enabling DHCP Service
-
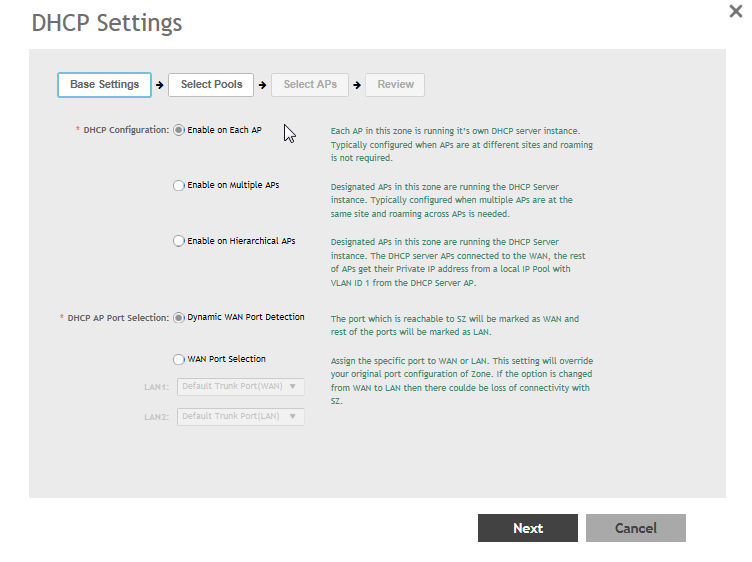
Click
Edit DHCP Service on AP. The
DHCP Settings wizard appears.
Figure 196 DHCP Settings wizard
-
On the next wizard screen, (Select Pools), select up to four DHCP pools from which to assign client IP addresses.
NOTEFor the Enable on Hierarchial APs DHCP configuration, one of the pools must be VLAN ID 1.Figure 197 Selecting Pools
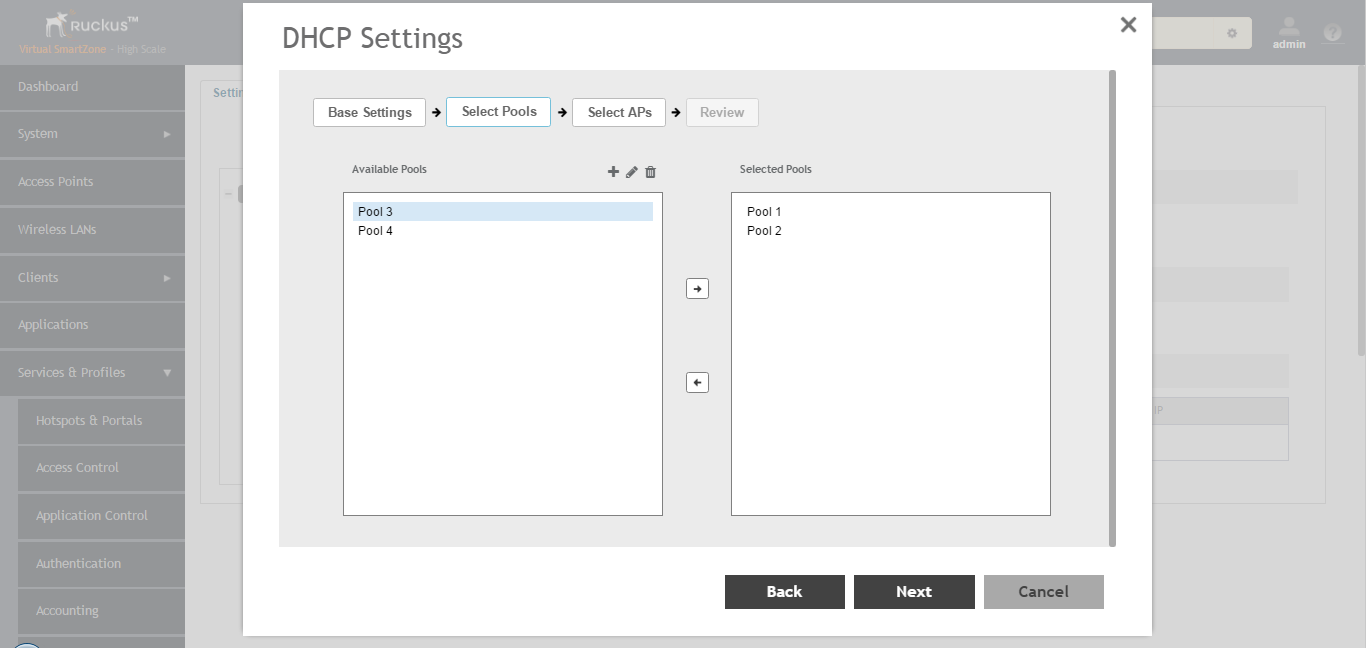
NOTEIf you have not already created DHCP pools, you can do so from within the wizard. Click the Plus (+) icon and configure the IP address pools as described in the Creating an AP DHCP Pool. -
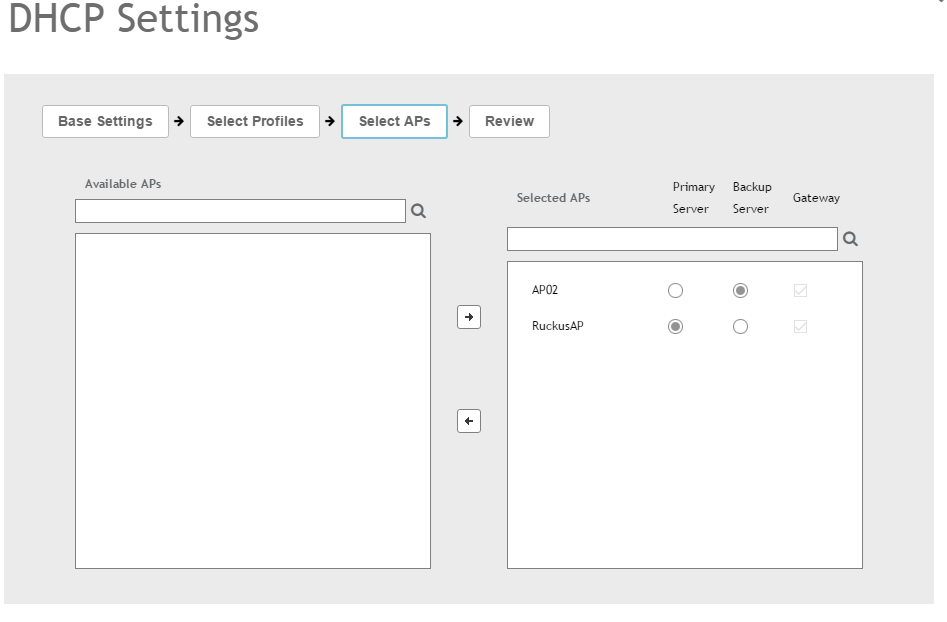
On the
Select APs wizard screen, select the AP(s) that you want to set as the primary and secondary DHCP servers (if you previously selected
Enable on Multiple APs).
NOTEFor the Enable on Hierarchial APs DHCP configuration, you can select only two APs.Figure 198 Selecting APs
-
On the
Review screen, review your settings to make sure everything is correct. Once you are satisfied with your settings, click
OK to confirm.
Figure 199 Review DHCP settings
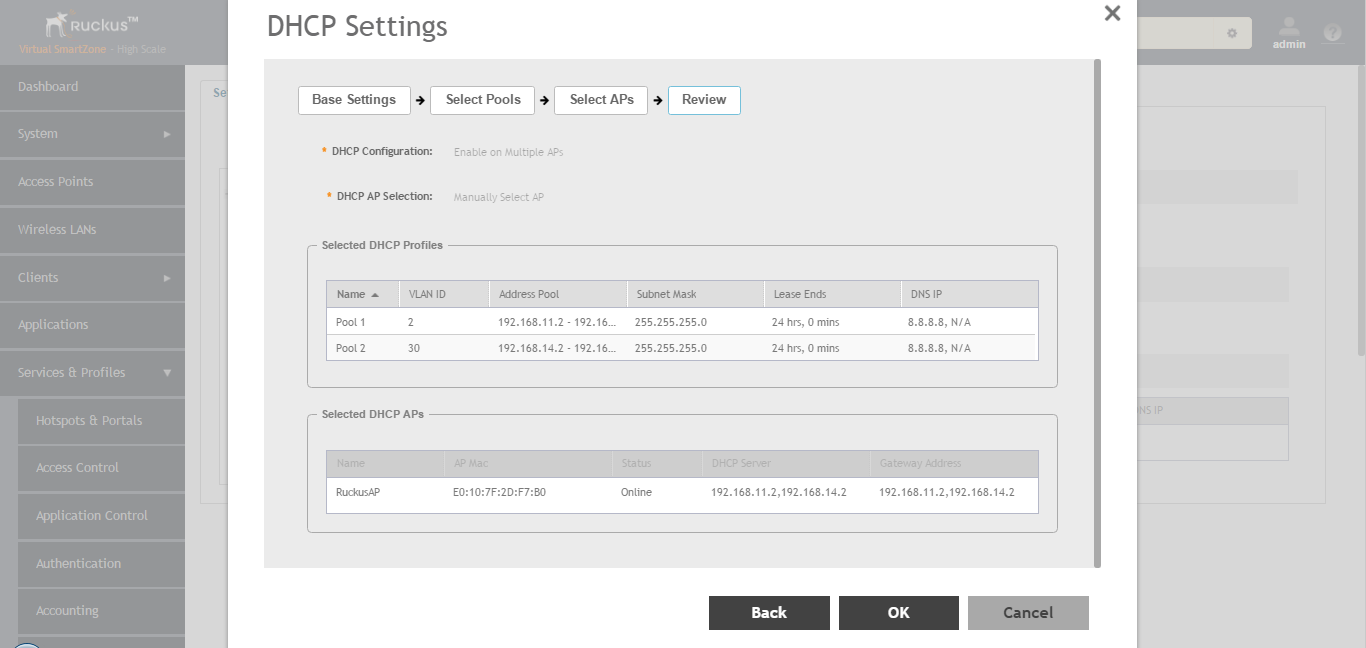
You have configured the DHCP server settings and applied them to an AP (or multiple APs). These APs will now provide DHCP/NAT functionality and assign IP addresses to wireless clients from the DHCP address pools you specified.