You can configure the Ruckus GRE tunnel profile of the controller to manage AP traffic.
-
Go to
.
-
Select the
Ruckus GRE tab, and then select the zone for which you want to create the profile.
-
Click
Create.
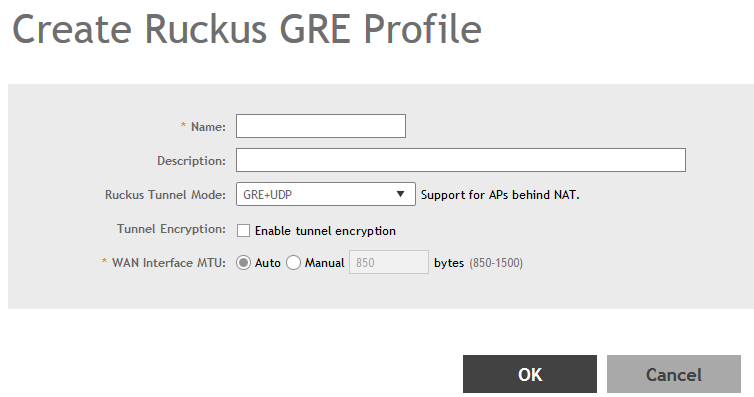
The
Create Ruckus GRE Profile page appears.
Figure 101
Creating a Ruckus GRE Profile
-
Configure the following:
- Name: Type a name for the profile.
- Description: Type a description for the profile.
- Ruckus Tunnel Model: Select a protocol to use for tunneling WLAN traffic back to the controller.
- GRE + UDP: Select this option to allow APs behind a NAT server to tunnel WLAN traffic back to the controller.
- GRE: Select this option to tunnel regular WLAN traffic only.
- Tunnel Encryption: Select the
Enable tunnel encryption check box if you want managed APs to decrypt 802.11 packets, and then use an AES encrypted tunnel to send them to the controller. By default, when WLAN traffic is tunneled to the controller, only the management traffic is encrypted; data traffic is unencrypted.
- WAN Interface MTU: Set the maximum transmission unit (MTU) for the tunnel to either
Auto (default) or
Manual (a specific size 850 to 1500 bytes). MTU is the size of the largest protocol data unit that can be passed on the controller network.
- Click
OK.
You have created the Ruckus GRE profile.
NOTE
You can also edit, clone and delete the profile by selecting the options
Configure,
Clone and
Delete respectively, from the
Ruckus GRE tab.