Creating Time Schedules
You can control client access to the network by providing a time schedule within which the device can access the network.
-
Click
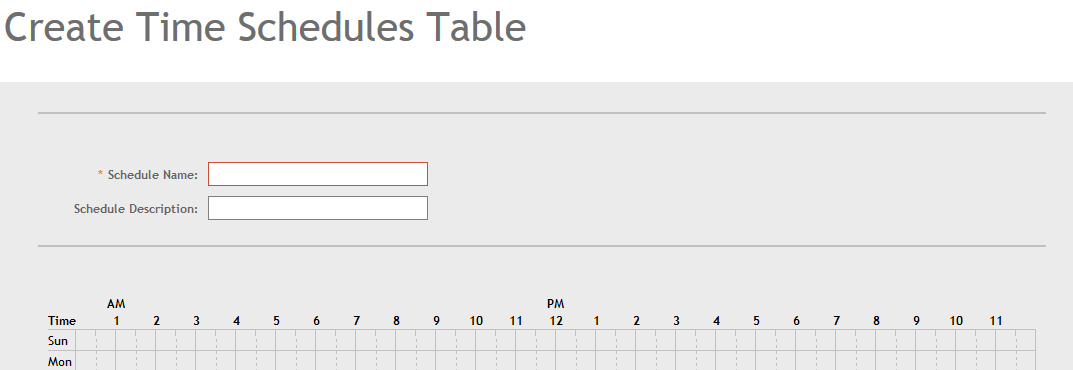
Create.
The Create Time Schedule Table page appears.Figure 81 Creating a Time Schedule Table
You have created the schedule.
NOTE
You can also edit, clone and delete the schedule by selecting the options
Configure,
Clone and
Delete respectively, from the
Time Schedule tab.