Importing a Floorplan Map
SmartZone provides a user-friendly workflow for importing a map of your venue floorplan, placing APs in their respective physical locations on the map, and scaling the map to match the actual dimensions of your venue.
Floorplan maps allow you to view site/venue/floor-specific details such as:
- AP status, performance, and health conditions
- Client connections to an AP
- Location-specific trouble spots related to AP or client connectivity
To import a floorplan map:
-
From the System tree hierarchy, select the location where you want to create a map and click the add
 button. The
Add Map form appears.
button. The
Add Map form appears.
-
For
GPS Coordinates, you can enter the
Latitude and
Longitude values.
Figure 25 The Add Map form

-
Click two points on the map between which you know the distance. Blue dots appear to show the points you selected.
Figure 26 Click two points on the map to define the map's scale

-
From the
Available list, drag the APs and place them in their physical locations on the map. Click the
Placed tab to see the list of placed APs.
Figure 27 Drag and drop to place APs onto your floorplan

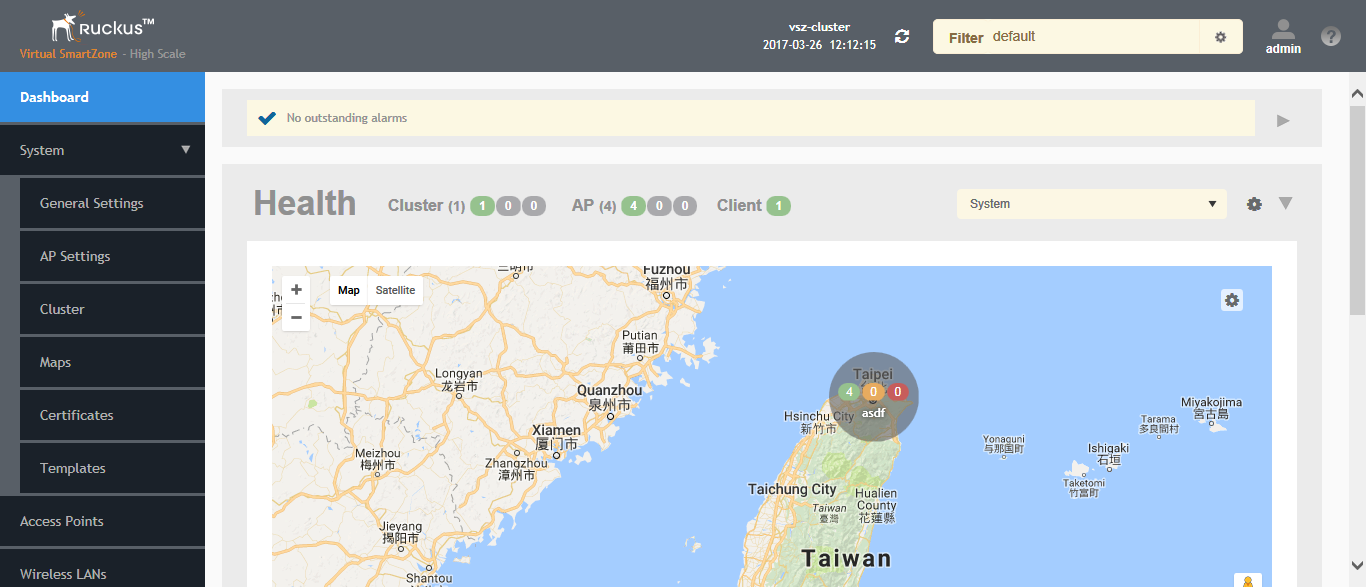
Your venue now appears as an icon on the world map on the Dashboard, located at your venue's actual physical location (if you entered the GPS coordinates correctly). The Dashboard icon that represents your venue provides an overview of the number of APs in the venue and their status. Hover over the icon to view more details, or click one of the links to zoom in to the venue floorplan map you imported.
Figure 28
The imported venue map icon appears at the GPS coordinates you configured
NOTE
You can also edit or delete a map. To do so, select the map from the list and click the